Useful tools for making zines
You can fold and staple a zine with nothing but your hands and a regular office stapler. But a handful of inexpensive tools make the finished zine look noticeably better and the assembly less fiddly. Everything here is a one-time purchase under ~$30 each.
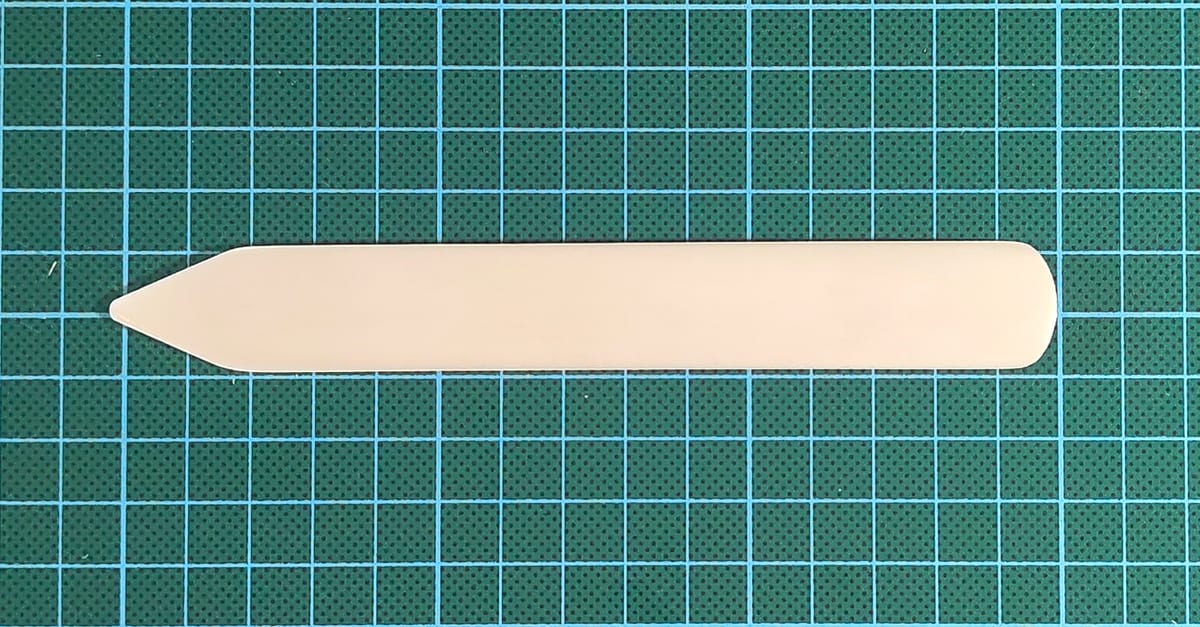
Bone folder
A flat, smooth piece of bone (or plastic, which works just as well) used to crease folds sharply. Drag it along the fold line under firm pressure and the paper folds crisp and flat instead of springing back. The single biggest upgrade for a hand-folded zine.
A teflon folder is a slightly fancier variant - slides more smoothly, doesn't burnish the paper. Both work; bone is cheaper.
Stapler
Three categories matter for saddle stitching, grouped by how the staple gets aligned to the fold:
-
Long-arm: a horizontal arm with a fence at
the back. You slide the booklet in until it stops against the fence
and squeeze. The fence sets a fixed distance from paper edge to
staple, so placement depends on both fence calibration and a
perfectly square fold. Any drift in either puts the staple just off
the fold line.

-
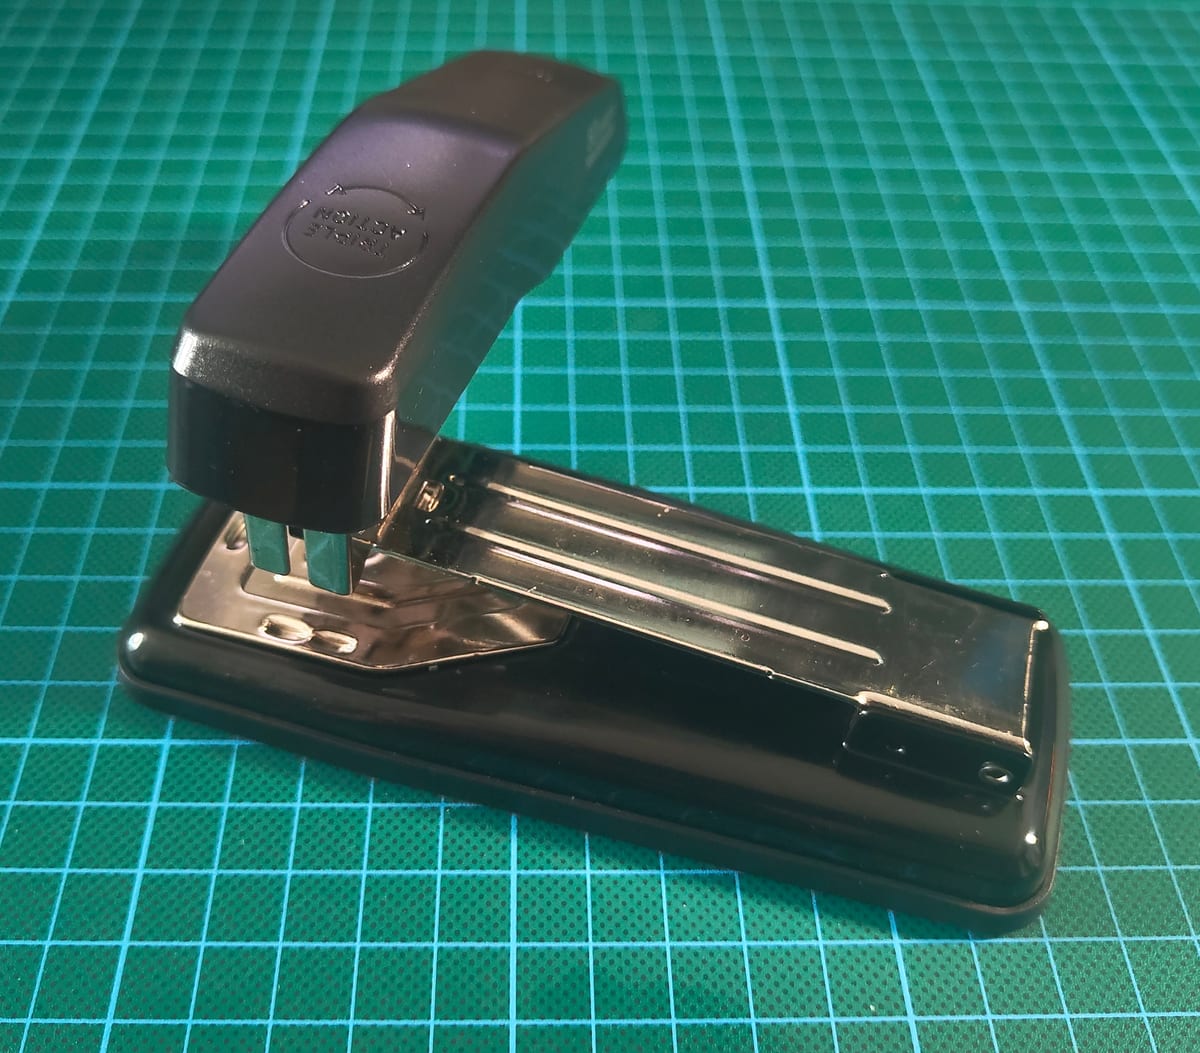
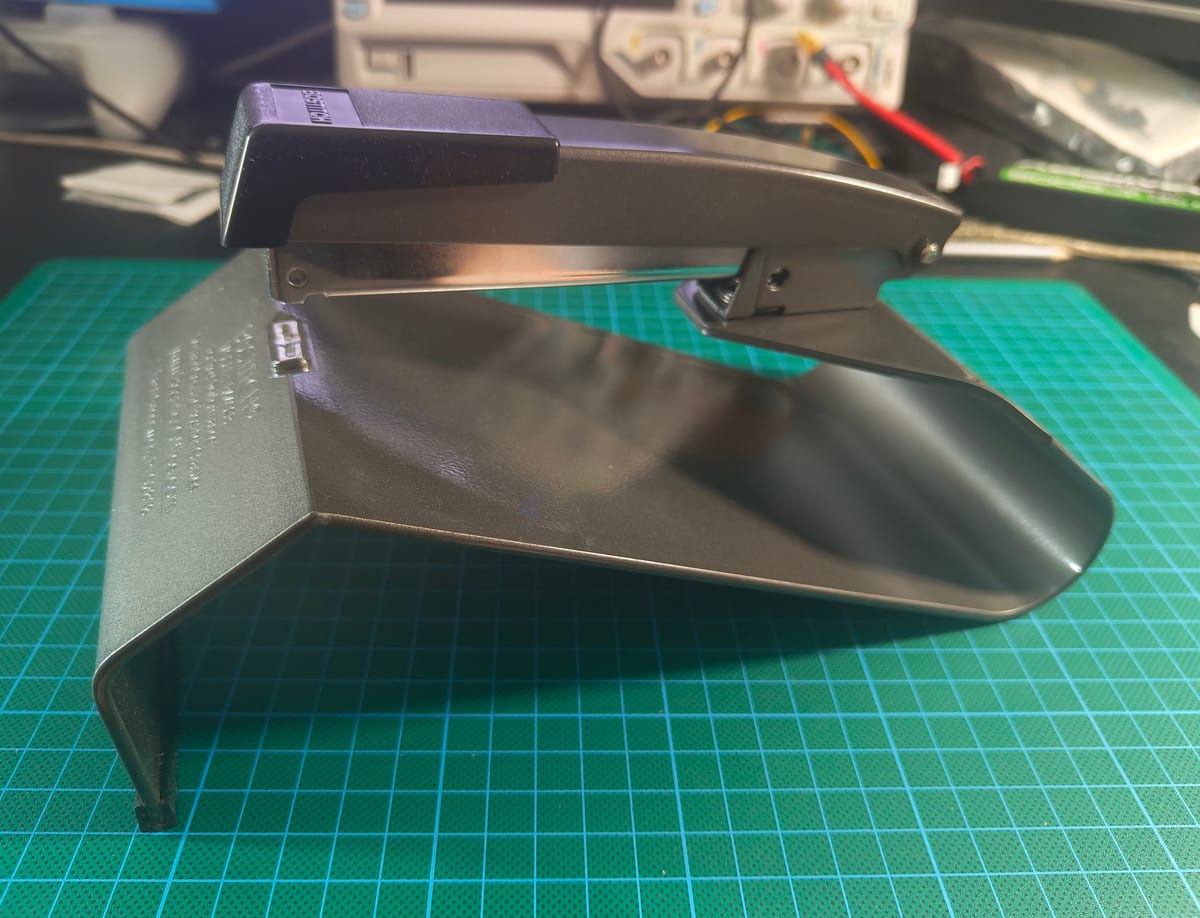
90-degree / swivel: a desktop stapler whose head
rotates 90° to expose the ejection point. You line the fold up
visually with the staple position and squeeze. Doubles as
a flat stapler when not rotated.
-
Dedicated saddle stapler: a purpose-built tool with
a fixed V-shaped saddle that holds the pre-folded booklet while the
staple head comes straight down onto the spine. Same visual-alignment
benefit as the 90-degree, but doesn't double as a flat stapler.
The 90-degree and saddle staplers both beat the long-arm on alignment because you see where the staple lands instead of trusting a fence-based approximation. That matters most with home printers, where small page-to-page drift in content position (especially borderless mode - see the printer-settings guide) means the fold isn't always exactly where the fence expects it. A long-arm is faster once dialled in, and shines for long runs of identical booklets.
Sweet-spot picks
Best for price: a 90-degree / swivel stapler. If you're starting out or making zines occasionally, a swivel-head like this generic swivel stapler is the sweet spot - visual-alignment advantage for a fraction of the price of a dedicated saddle stapler, and it doubles as a regular desktop stapler when not rotated.
Best for comfort and perfectionism: a dedicated saddle stapler. If you make zines regularly, the Bostitch B440SB is my personal pick. Solid build, generous sheet capacity, and the staple head lands exactly on the saddle every time because the mechanism is designed only for this. Not cheap, but at this price point I'd rather not save the small difference and end up with a wobbly tool that drifts mid-staple.
The exact model doesn't matter much beyond that; well-reviewed options in any of these categories all work the same way.
Metal ruler
For trimming and scoring. A metal ruler gives you a straight edge to cut against without the blade slipping or shaving into the ruler. A solid steel ruler is the traditional pick and works well. Personally I prefer the aluminum-body rulers with a steel cutting edge embedded along one side - lighter to carry around, but the steel insert holds up to a sharp blade the same way a solid steel ruler would.

What to avoid is a plain aluminum ruler (no steel edge): a sharp blade will nick it surprisingly fast, and once it's nicked your cuts wander. Plastic rulers have the same problem and bend under pressure.
Look for anti-slip inlays on the underside - usually cork or rubber strips embedded along the length of the ruler. They stop the ruler from sliding while you press down to cut. A ruler that shifts mid-cut sends the blade into the wrong place and ruins the sheet (and sometimes your finger). Most decent cutting rulers ship with these inlays; if yours doesn't, you can stick adhesive cork or rubber feet to the underside as a retrofit.
30 cm / 12 inches is enough for most zine sizes; 60 cm is nicer if you're working with larger sheets.
Rotary cutter or craft knife (handheld)
Useful for two things: trimming the outer edge of a folded booklet flush (nested sheets cause slight "creep" so the inner pages stick out a hair) and cutting card stock down to size before binding.
-
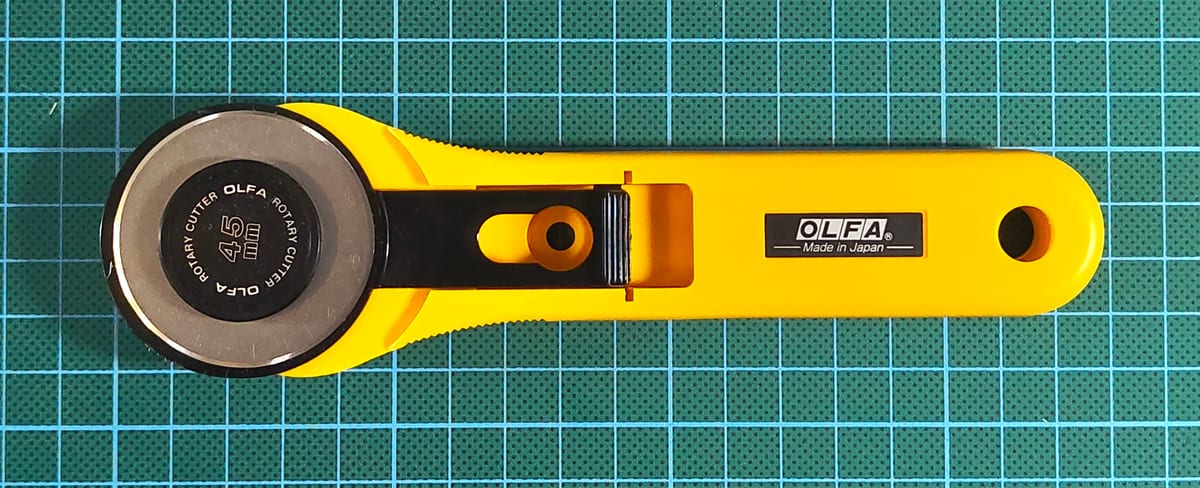
Rotary cutter (the kind with a circular blade,
used freehand against a ruler): clean cuts, low effort, consistent
line.
-
Craft knife / X-Acto: more versatile, replaceable
blades, lower cost. Combined with a metal ruler it does the same
job as a freehand rotary cutter, with a learning curve.

A self-healing cutting mat under either one protects your work surface and keeps the blade sharp.
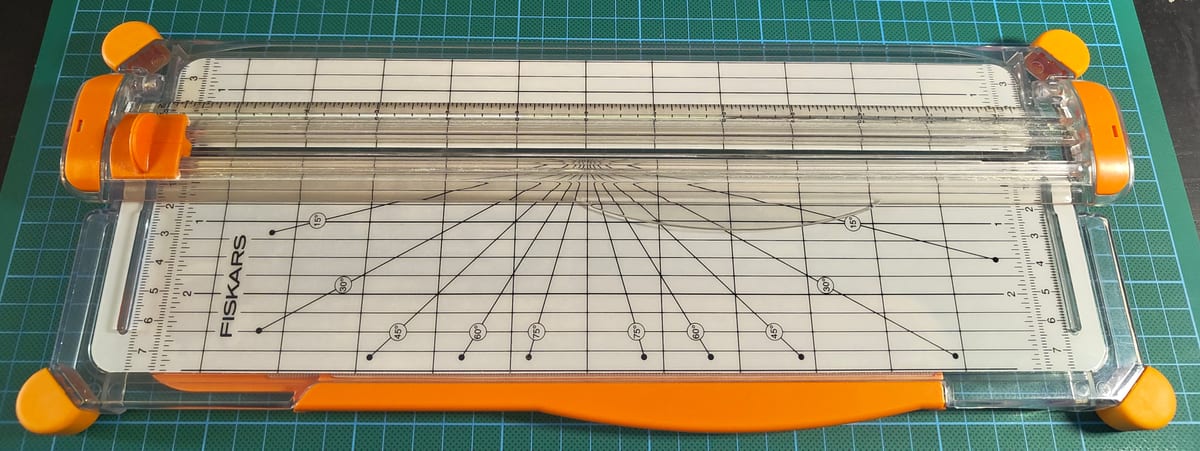
Paper trimmer (desktop)
A desktop paper trimmer is the cleanest way to trim multiple sheets to a consistent size. The Fiskars SureCut and similar models use a small straight blade in a sliding carriage that rides along one edge of a measuring base. You position the paper against the guide, hold the stack flat, slide the carriage across. Each cut is straight by mechanism, not by hand.
Two features make the SureCut design pleasant in practice:
- An alignment wire runs along the cut line, hovering just above the cutting bed so you can see exactly where the blade will land before you slide it. Lining the paper up cleanly takes a second.
- A fold-up fence: the alignment guide flips out of the way so you can position the paper freely on the bed. Handy for partial cuts where you don't want to slice all the way across, or for non-rectangular trims. Cheaper rotary trimmers often can't do this because the rotary blade is permanently engaged with the rail.
A paper trimmer earns its place quickly. The obvious uses are trimming booklets after binding (to flush the open edge of nested sheets), cutting cover stock to size, and any batch zine production. The less obvious one: printers that can't do borderless. If your design needs to bleed to the edge but your printer reserves a 5-10 mm non-printable border, the standard workaround is to print on oversized paper (A3 for an A5 zine) with cut marks, then trim to size on the paper trimmer. The trimmer makes that workflow fast enough to be practical.
The SureCut tier is the popular sweet spot: affordable, takes A4 or slightly larger, replaceable blade. Larger trimmers go up to A3+ if you work on bigger sheets.
The catch with small desktop trimmers is paper thickness. Most of them are rated for a small number of sheets at a time (often 5-10 sheets of 80 gsm paper) and cope poorly with heavier card stock. Stacking too many sheets, or feeding a 200 gsm cover, results in a ragged or crooked cut. For trimming a single folded booklet at a time, or a few sheets of normal paper, they're great. For thick stacks or stiff cover stock, you'll get cleaner results going through fewer sheets per pass, or using a craft knife with a steel-edged ruler.
What you don't need
Skip the heavy-duty arm-style guillotine trimmer unless you're cutting in real volume - the sliding-blade trimmer above does the same job for zine batches without the storage footprint. A bookbinding awl is also overkill for saddle-stitched zines; it only matters once you start sewing pamphlet bindings.